
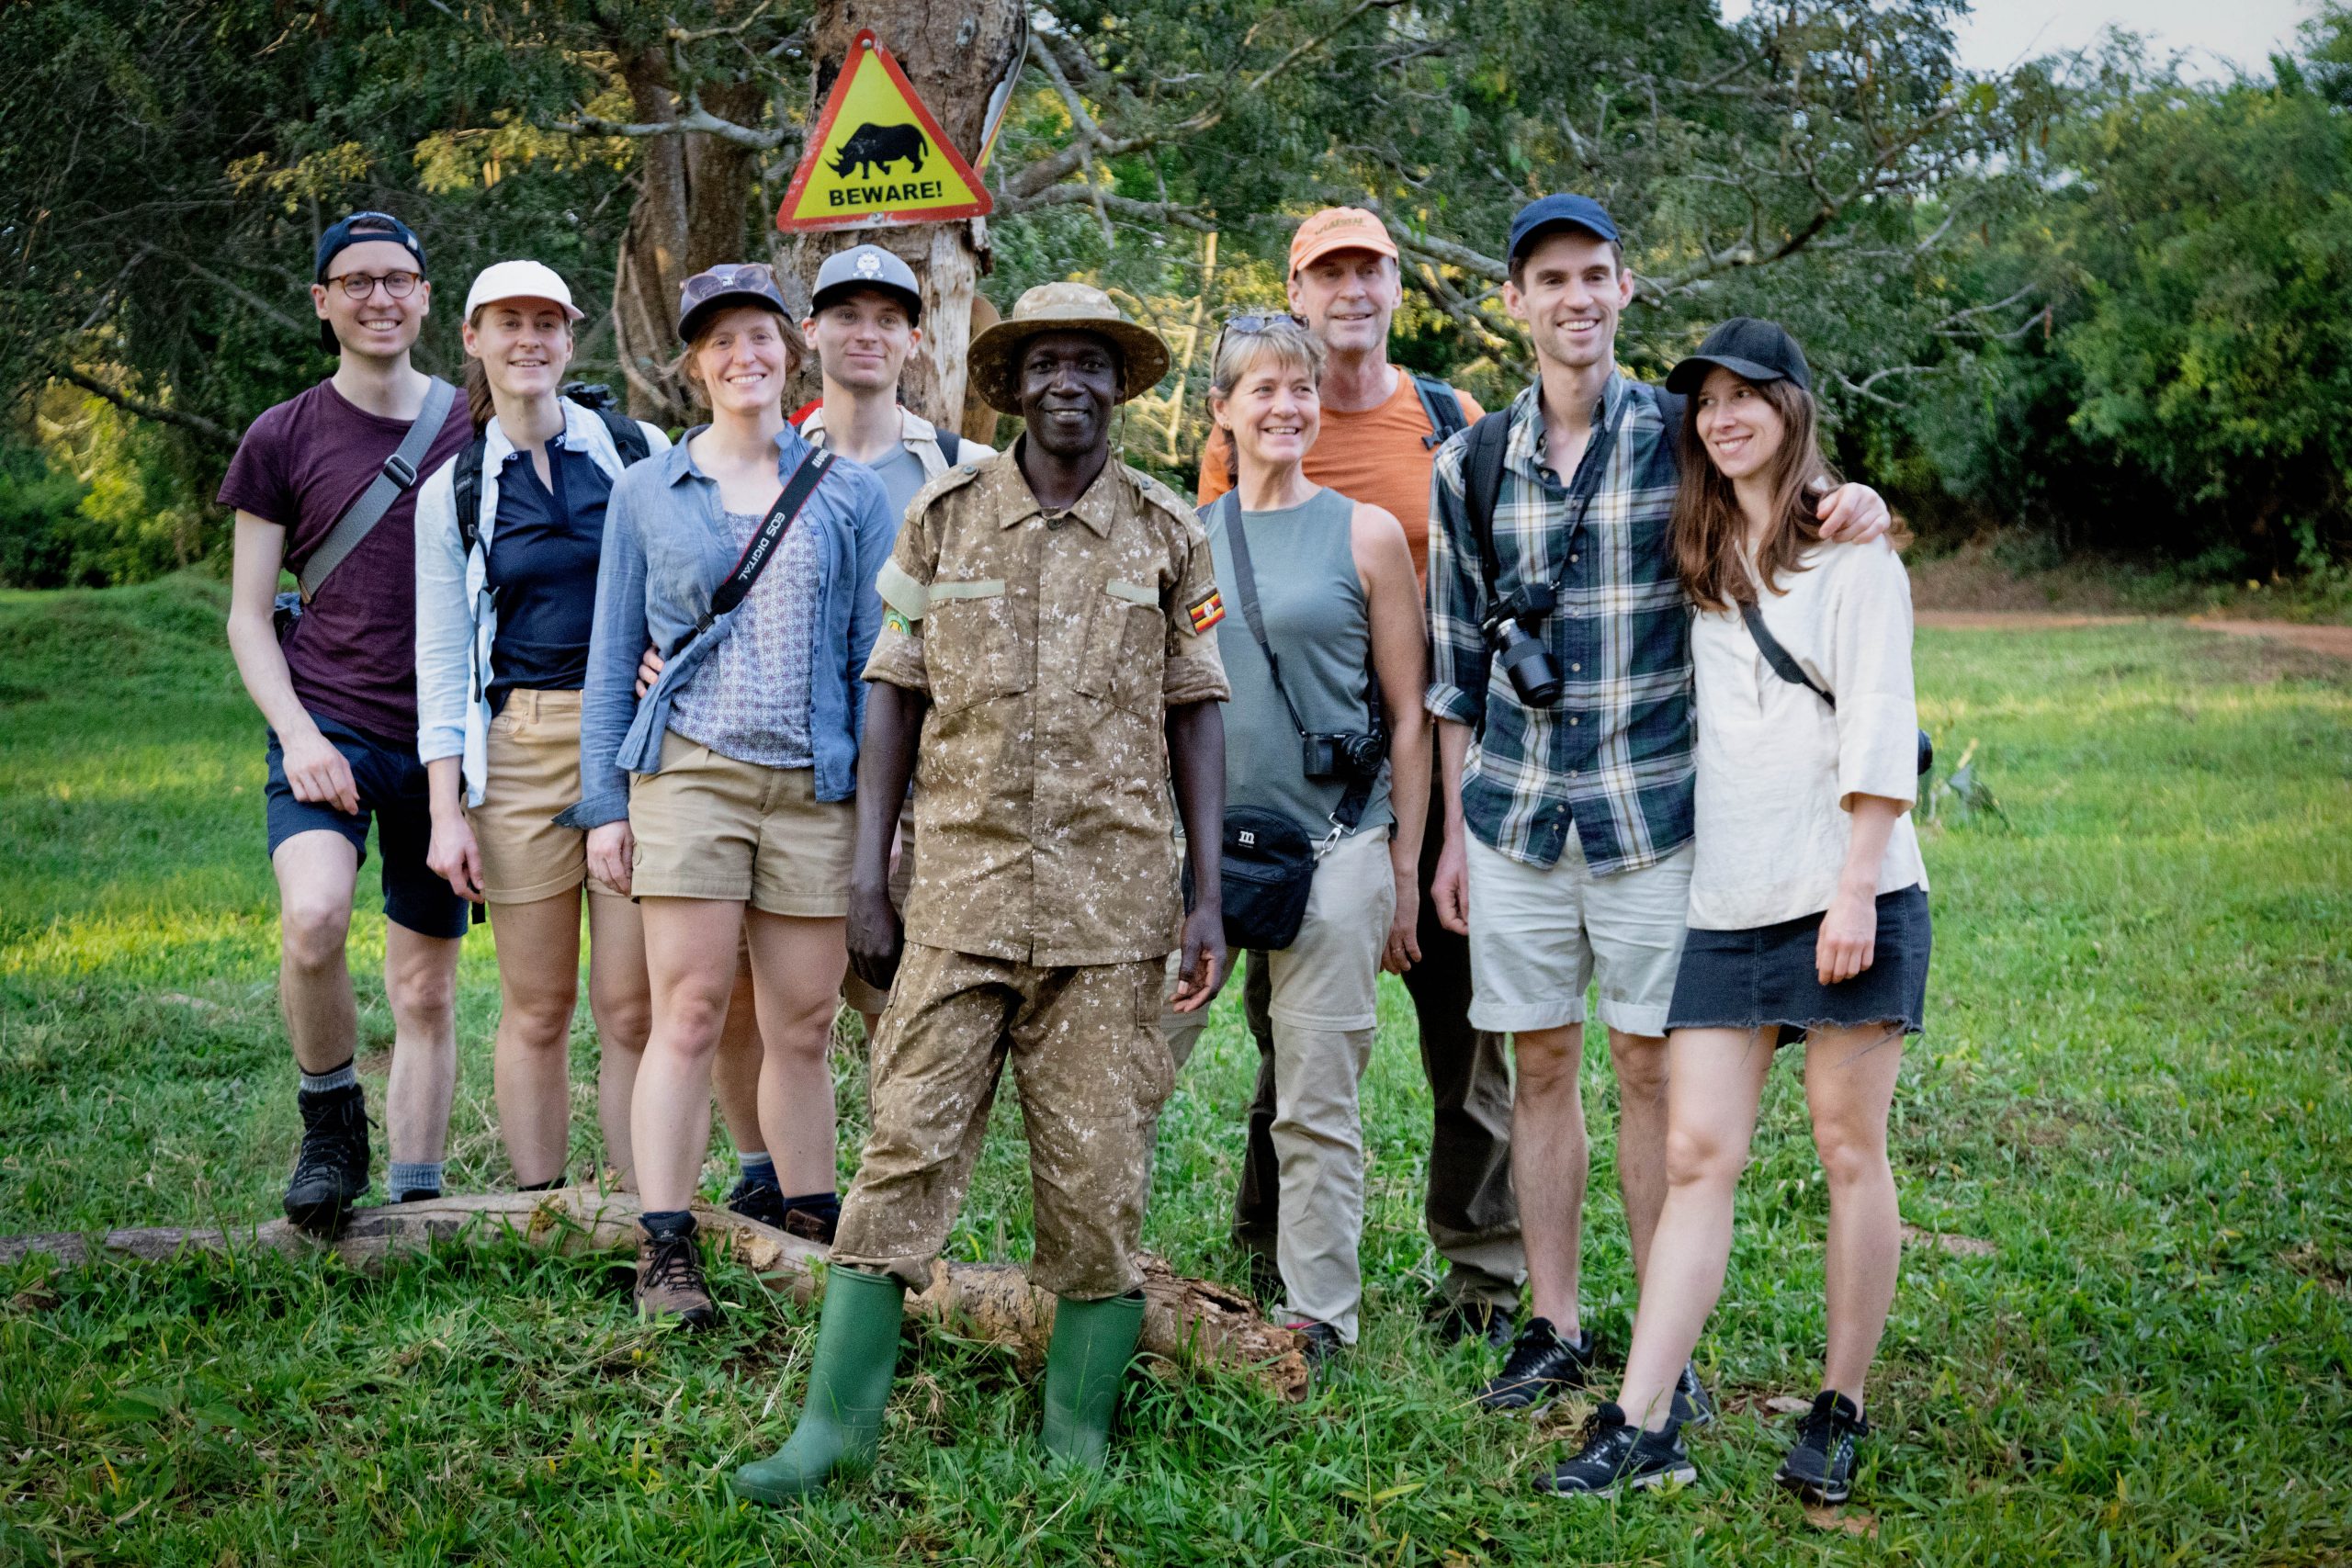
How to Plan a Photography-Focused Safari With Enough Time at Each Sighting
A photography-focused safari requires a different approach to planning than a conventional wildlife holiday. While many safari itineraries focus on visiting several destinations within a limited number of days, a photography safari gives you enough time to observe animals, understand their behaviour, adjust your camera settings, and capture the images you want. You may spend an entire morning following a lion pride, wait for an elephant to approach a waterhole, or remain in one location until the light creates the right conditions for photographing wildlife.
The quality of a photography safari depends on several factors, including the destination, season, guide’s experience, vehicle arrangement, daily schedule, and time available at each sighting. A well-planned trip allows you to respond to wildlife encounters without constantly checking the clock. It also recognises that animals do not follow a predictable schedule. A leopard may appear for only a few minutes, while a herd of elephants might remain near a river for an hour or more.
Whether you are photographing gorillas in Uganda, lions in Tanzania, elephants in Kenya, or birds in Rwanda, the goal is to create an itinerary that prioritises photographic opportunities over the number of places visited. With the right preparation, you can return with stronger photographs and a more rewarding understanding of the wildlife you encounter.
Choose a Destination That Matches Your Photography Goals
Start by identifying the subjects you want to photograph. Different destinations offer different wildlife, landscapes, lighting conditions, and photographic challenges. Choosing a destination based on your interests helps you allocate enough time to the animals and environments that matter most to you.
For large mammals, East Africa offers several strong options. Tanzania’s Serengeti National Park is known for its lions, cheetahs, leopards, elephants, and seasonal wildebeest movements. Kenya’s Maasai Mara offers opportunities to photograph big cats, grazing herbivores, and dramatic interactions between predators and prey. Uganda’s Queen Elizabeth National Park provides opportunities to photograph elephants, buffaloes, hippos, tree-climbing lions in the Ishasha sector, and a wide variety of birds.
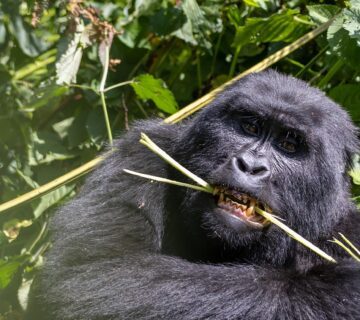
If gorillas are your priority, Bwindi Impenetrable National Park in Uganda offers a very different photography experience. Gorilla trekking involves walking through forest terrain with trained guides before spending a regulated period observing a habituated gorilla group. The time available with the gorillas is governed by park regulations, so your guide cannot simply extend the encounter because you want more photographs. You should prepare your equipment in advance and understand the rules for distance, flash photography, and responsible wildlife viewing.
Bird photographers may prefer destinations with varied habitats and reliable access to wetlands, forests, lakeshores, and open grasslands. Uganda’s Mabamba Bay, for example, is well known for shoebill encounters, while Rwanda’s wetlands and forest reserves provide opportunities to photograph many other bird species. Bird photography often requires patience because subjects can remain hidden, move quickly, or appear in difficult light.
Before booking, list your three main photographic priorities. These might be close-up portraits of lions, wide-angle photographs of elephants in open landscapes, and images of birds in flight. Share these priorities with your safari operator. The information will help the team recommend suitable parks, travel dates, accommodation, and daily activities.
Build the Itinerary Around Photography, Not the Number of Stops
One of the most common planning mistakes is including too many destinations in a short safari. Moving between parks can consume several hours, especially when the route involves rough roads, border crossings, ferry transfers, or long distances between accommodation and wildlife areas.
A five-day itinerary that includes three distant parks may look attractive on paper, but it can leave you with little time to photograph animals. You may arrive at a park during the hottest part of the day, spend only a short period searching for wildlife, and then leave the following morning. This approach can work for travellers who want a general overview of several destinations, but it is less suitable for photographers who need time to wait for specific behaviour or lighting conditions.
A better approach is to select fewer locations and stay longer in each one. For example, a four-day safari in the Serengeti can give you several opportunities to explore productive areas at different times of day. If you remain in the same region for multiple mornings, your guide can return to locations where wildlife activity has been promising.
Longer stays also reduce the pressure to photograph every animal during the first encounter. If you see a leopard resting in a tree on the first afternoon, you may be able to revisit the area later if local information suggests that the animal remains nearby. Wildlife sightings are never guaranteed, but returning to productive habitats can improve your opportunities.
When reviewing an itinerary, pay attention to the number of nights spent in each park, the expected driving time between locations, and whether the schedule includes full game-drive days. Ask whether a day is intended for wildlife photography or mainly for transferring between destinations. This distinction can make a substantial difference to your available shooting time.
Schedule Game Drives Around the Best Light
Light plays a major role in wildlife photography. The same animal can look completely different depending on the time of day, the direction of the sun, the surrounding vegetation, and the amount of cloud cover.
Early morning and late afternoon often provide softer light, warmer colours, and more manageable contrast. These periods can also coincide with useful wildlife activity, although animal behaviour varies by species, location, weather, and season. A photography safari should therefore prioritise these periods whenever practical.
A typical morning game drive might begin before sunrise or around first light, depending on park rules and the distance to the preferred wildlife area. This gives you a chance to photograph animals as the landscape brightens. You may capture elephants moving through mist, giraffes feeding against a pale sky, or lions returning from a night of hunting.
The afternoon drive can begin later in the day, allowing time to rest, review images, charge batteries, and clean equipment. Remaining in the park until the permitted closing time can provide opportunities to photograph animals in softer evening light. Exact timings depend on park regulations, lodge location, road conditions, and whether special arrangements are available.
Avoid building every day around a fixed schedule that forces you to leave a productive sighting at an arbitrary time. Instead, discuss flexible arrangements with your guide and agree on realistic limits before the safari begins. Some parks have strict operating hours, designated routes, or other rules that prevent vehicles from remaining at a sighting indefinitely.
Midday can still be useful for photography. It may be suitable for photographing birds near water, animals resting in shade, reptiles, or wider landscape scenes. However, harsh overhead sunlight can produce deep shadows and bright highlights, particularly on dark animals such as buffaloes or gorillas. Use this period for rest or subjects that suit the available light rather than expecting every hour to produce ideal conditions.
Allow Enough Time at Every Wildlife Sighting
The amount of time you spend at a sighting should depend on the animal’s behaviour, photographic opportunities, other vehicles, and park rules. There is no single duration that works for every encounter. A lion sleeping in deep shade may offer limited opportunities for several minutes, while a family of elephants interacting at a waterhole could provide useful images for much longer.
For planning purposes, allow your schedule to accommodate a range of encounter lengths. A brief stop of 10 to 15 minutes may be sufficient for a distant animal or a straightforward documentary photograph. An encounter lasting 30 to 60 minutes can provide more time to adjust your position, observe behaviour, and wait for improved light. Longer sessions may be worthwhile when animals are active, the scene is changing, or the subject offers opportunities for a series of photographs.
These are planning estimates rather than guarantees. Your guide must also consider animal welfare, safe viewing distances, other visitors, and park regulations. Some encounters will end naturally when the animals move away, while others may need to end because the vehicle must move to avoid disturbing wildlife.
Ask your safari operator whether the guide can remain at productive sightings when conditions permit. Some group safaris follow shared schedules, which means everyone must agree before the vehicle stays longer. A private safari generally provides greater flexibility because you can make decisions with your guide based on the wildlife activity and your photographic objectives.
At the beginning of each drive, explain the kinds of images you want to capture. If you are photographing elephants, you may want to wait for trunk interactions, dust bathing, or movement across an open background. If you are photographing lions, you may be interested in yawning, grooming, social interaction, or a change in posture. These behaviours cannot be guaranteed, but knowing your priorities helps the guide make informed decisions about where to wait.
Patience also requires realistic expectations. Spending an hour beside a resting leopard does not guarantee an action photograph. The animal may sleep throughout the encounter. Nevertheless, that period can still produce useful portraits, images showing the animal in its habitat, or photographs of subtle changes in expression and posture.
Choose a Private Safari Vehicle When Possible
Your vehicle arrangement can directly affect the quality of your photography. On a shared safari, passengers often have different priorities. One traveller may want to photograph birds, another may be interested in mammals, and someone else may prefer to continue driving in search of new sightings. These competing preferences can limit the time available at individual locations.
A private safari vehicle gives you more control over the daily schedule. You can discuss when to start, which habitats to explore, how long to remain at a sighting, and when to take a break. Your guide can also focus more closely on your photographic interests rather than balancing the needs of several unrelated travellers.
Before booking, confirm whether the vehicle will be exclusively yours throughout the safari. Ask how many passengers it accommodates, whether the seating arrangement allows you to use a long lens comfortably, and whether the roof or windows provide a clear shooting position.
A private vehicle does not automatically guarantee better photographs. Your results will still depend on wildlife movements, guide experience, weather, and your own preparation. However, it usually offers greater flexibility, which is especially valuable when you want to wait for specific behaviour or work with changing light.
Vehicle design also matters. A raised roof hatch may be useful for general wildlife viewing, while open-sided vehicles can offer convenient shooting angles where permitted and appropriate. Some specialised vehicles provide beanbag supports, charging points, or additional space for camera bags. Ask what is included rather than assuming every safari vehicle has the same equipment.
If your budget requires you to join a shared safari, look for a small group with clearly stated photography arrangements. Discuss whether the operator can reserve a seat with a suitable view, whether passengers can remain at a sighting when others wish to move on, and whether the itinerary includes sufficient time for photography.
Work With a Guide Who Understands Wildlife Photography
An experienced wildlife guide contributes much more than the ability to locate animals. A guide who understands photography can help you assess the direction of the light, anticipate movement, select a suitable viewing position, and recognise when an encounter may become more interesting.
For example, a lion lying beside a road may initially appear to offer a simple portrait opportunity. A knowledgeable guide might notice that the animal is watching a nearby herd of zebras. Rather than immediately leaving, the guide may suggest waiting at a safe, permitted position to see whether the lion changes its posture or begins moving. The outcome remains uncertain, but informed observation gives you a better chance of being ready if something happens.
Ask prospective safari operators about their guides’ experience with photography-focused trips. Find out whether they understand camera equipment, focal lengths, exposure challenges, and the importance of allowing passengers time to compose images. A guide does not need to be a professional photographer, but they should respect the time and concentration required for the activity.
Communication is essential. Tell your guide whether you prefer tight portraits, environmental images, animal behaviour, or a combination of styles. Explain whether you are using a DSLR, mirrorless camera, telephoto lens, or smartphone. This helps the guide understand what you can photograph comfortably and which positions may suit your equipment.
You should also agree on ethical boundaries. A responsible guide will not encourage chasing animals, blocking their movement, making unnecessary noise, or approaching too closely for a photograph. The purpose is to observe wildlife without causing avoidable disturbance.
Prepare Your Camera Equipment Before Departure
Time at a sighting becomes less productive when you need to search through bags, change several settings, or troubleshoot equipment. Prepare your camera before leaving the lodge so that you can respond quickly when an animal appears.
A telephoto lens is useful for photographing animals from a safe and appropriate distance. On a full-frame camera, a 100–400mm or 200–600mm lens can provide useful reach for many wildlife situations. A 70–200mm lens can be helpful for larger mammals, environmental portraits, and scenes where animals are relatively close. Bird photographers may benefit from longer focal lengths, depending on the species and habitat.
A wide-angle lens can also be valuable. It allows you to photograph elephants against a broad landscape, capture the scale of a herd, or show wildlife within its environment. Carrying several lenses gives you more options, but avoid bringing so much equipment that changing lenses becomes difficult in a moving vehicle or dusty environment.
Before each drive, charge your batteries, clear sufficient memory-card space, clean the front element of your lens, and check your camera settings. Keep spare batteries and memory cards accessible. Dust, heat, moisture, and sudden rain can affect equipment, so use protective bags and lens cloths where appropriate.
Consider starting with a shutter speed fast enough to reduce motion blur. For a resting animal, you may be able to use a slower shutter speed if the light is limited and your technique is steady. For walking animals, moving birds, or sudden action, you will generally need faster shutter speeds. The appropriate setting depends on the focal length, subject movement, light, and camera capabilities.
Autofocus tracking and continuous shooting modes can help when photographing movement. However, holding the shutter continuously does not replace anticipation. Watch the animal, recognise signs of movement, and prepare your composition before the action begins.
Set up your camera in advance, but remain ready to adjust exposure and focus when the light changes. This preparation allows you to spend more time watching the wildlife instead of managing equipment.
Plan for Different Types of Photographic Opportunities
A strong photography safari should include time for several types of images. Concentrating entirely on close-up portraits can leave you with a limited visual record of the journey. A balanced approach includes animal portraits, behaviour, wildlife in landscapes, environmental details, and wider scenes that explain the setting.
Portrait photography focuses on details such as an elephant’s eyes, a lion’s expression, or the texture of a leopard’s coat. These images often require a longer focal length and careful attention to focus. You may need to wait for the animal to turn its head, move into better light, or separate visually from a distracting background.
Behavioural photography records interactions and actions. Examples include elephants greeting one another, young animals playing, birds feeding, or a lion pride resting together. These moments are unpredictable, so allow enough time to observe rather than photographing only the first available pose.
Environmental photography shows an animal within its habitat. A giraffe beneath an acacia tree, elephants crossing an open plain, or a gorilla feeding among forest vegetation can tell a broader story than a close-up image. These photographs often require a different focal length and a carefully considered composition.
Landscape and habitat photographs also deserve attention. Include rivers, grasslands, forests, mountains, wetlands, and changing skies where they contribute to the story of the safari. These scenes can provide context for a photo essay or wildlife portfolio.
Bird photography benefits from its own planning considerations. Birds may move quickly between branches, disappear into vegetation, or take flight without warning. If birds are a major priority, dedicate specific sessions to productive habitats instead of expecting every general game drive to provide enough time for them.
Discuss these different objectives with your guide. A day can be planned around a broad theme, but leave room for unexpected encounters that may offer stronger opportunities than the original plan.
Choose the Right Season for Photography
Seasonality influences wildlife distribution, vegetation, road conditions, visibility, and light. Selecting suitable travel dates can improve your chances of finding the subjects you want to photograph, although no season guarantees particular sightings.
In parts of the Serengeti and Maasai Mara, the movement of wildebeest and other grazing animals changes throughout the year. The best location for migration photography depends on the herds’ movements, rainfall, and local conditions. If migration is your main objective, ask an experienced operator to recommend the region most appropriate for your dates rather than relying on a general statement that the migration happens in one fixed location.
Drier periods can make wildlife easier to locate around water sources and may reduce the height of vegetation in some habitats. However, dry conditions can also produce dust, harsh sunlight, and less green scenery. During wetter periods, landscapes may be lush, skies can be dramatic, and bird activity may be rewarding, but rain, mud, and dense vegetation can make access and visibility more challenging.
For gorilla photography in Bwindi, conditions can change quickly because the forest receives substantial rainfall. Trails may be muddy and steep, and vegetation can obstruct your view. A suitable camera cover, secure bag, and equipment that can be operated comfortably in damp conditions are important. Your trekking guide determines the route and manages the encounter according to park rules and the gorillas’ location.
Before choosing dates, ask your operator about typical conditions in the specific park and region. Discuss road access, expected vegetation, sunrise and sunset times, and whether seasonal weather could affect the planned activities. These details help you prepare for the conditions you are likely to encounter.
Select Accommodation That Supports Early Starts and Flexible Days
Accommodation can influence how much time you spend photographing wildlife. A lodge located close to a productive game-drive area may allow you to reach the park early without spending a large part of the morning travelling. A more distant hotel might be comfortable, but the daily transfer could reduce the time available for photography.
When choosing accommodation, consider its location, road access, meal arrangements, and flexibility around early departures. Ask whether breakfast can be provided before a morning drive, whether packed meals are available for longer outings, and whether you can return later than usual when park rules allow it.
Staying inside or near a national park may also make it easier to take a midday break and return for an afternoon session. The best arrangement depends on the destination, available facilities, and your budget.
You should also consider the practical needs of your equipment. Reliable electricity is useful for charging batteries, while a clean and secure space helps you organise lenses and memory cards. If you are carrying several cameras, ask whether the accommodation offers safe storage.
A photography-focused itinerary should not require you to change lodges every night unless the route makes it necessary. Frequent packing, unpacking, and long transfers can be tiring and leave less time for image review and equipment preparation. Two or three nights in one location can provide a more comfortable routine and allow your guide to develop a clearer picture of your priorities.
Build Flexibility Into Every Day
Even the most carefully researched itinerary cannot predict wildlife behaviour. A road may become difficult after rain, a popular sighting may attract several vehicles, or an animal may disappear into thick vegetation shortly after you arrive.
A flexible schedule gives you room to respond to these changes. Avoid planning every hour of the safari around a fixed activity. Allow spare time for promising encounters, route changes, and unexpected opportunities.
This does not mean leaving every decision until the last minute. Confirm park permits, accommodation, transport, and essential activities before departure. Flexibility is most useful when it operates within a reliable structure.
For example, you might plan an early morning drive in a region known for big cats, return to the lodge for lunch and equipment maintenance, and head out again in the late afternoon. If the morning produces an especially rewarding sighting, you can discuss whether to revisit the area later, provided the location, access rules, and wildlife conditions make that sensible.
Keep one or two less demanding periods in the itinerary. Photography can involve long hours of concentration, uncomfortable vehicle positions, heat, and dust. Rest helps you remain attentive and make better decisions when an important encounter occurs.
You should also leave time for reviewing photographs. During a break, check focus, exposure, and composition on a larger screen if possible. You may discover that a camera setting needs adjustment before the next drive. However, avoid deleting images in the field simply because they look unimpressive on a small camera display. Review them carefully later, when you can assess sharpness and detail more accurately.
Understand Park Rules and Responsible Photography
Photography must remain secondary to wildlife welfare and visitor safety. National parks and protected areas have rules governing driving, access, viewing distances, operating hours, and interactions with animals. Some destinations restrict off-road driving, limit the number of vehicles at particular sightings, or require visitors to follow designated routes.
These rules can affect how long you remain at an animal and where your guide can position the vehicle. Ask your operator to explain the regulations that apply to your destinations before the trip begins.
Avoid asking your guide to drive too close to an animal for a tighter photograph. Long lenses can provide useful reach without requiring you to disturb wildlife. Never encourage a driver to block an animal’s path, pursue an animal that is moving away, or make loud noises to attract attention.
Flash photography is prohibited or restricted in certain wildlife encounters, and it is not permitted during mountain gorilla visits under standard trekking rules. Follow the instructions of your guide and park authorities. For gorilla trekking, use appropriate camera settings before the encounter and keep your equipment ready so that you can photograph within the permitted time without delaying the group.
Ethical photography also means respecting other visitors. At a busy sighting, avoid obstructing another vehicle’s view or demanding that everyone remain in place solely for your photographs. Your guide can help you find a suitable position while following the rules and maintaining a considerate distance from other groups.
A responsible safari operator should explain these expectations clearly. Good planning gives you time to photograph wildlife while accepting that animals, park authorities, and environmental conditions determine what is possible.
Budget Realistically for a Photography-Focused Safari
A photography safari can cost more than a standard group trip because it may require a private vehicle, a specialised guide, additional nights in a park, or a longer stay in a particular region. However, a larger budget does not automatically produce better photographs. The most important factor is whether the itinerary provides suitable opportunities for your photographic goals.
When comparing quotations, check what each price includes. Look at accommodation, park entry fees, vehicle use, guide services, meals, internal transfers, and any specialised activities. If gorilla trekking is part of the itinerary, confirm whether the required permit is included and whether it has been secured.
Ask whether the quoted vehicle arrangement is private and whether the operator allows reasonable flexibility during game drives. A lower-priced itinerary may include several long transfers or shared activities that reduce the time available at wildlife sightings.
You should also budget for camera equipment, memory cards, batteries, protective covers, and travel insurance appropriate to your trip. If you are bringing expensive equipment, confirm that your insurance covers it and check any relevant airline baggage restrictions.
A longer stay in one park can sometimes provide better photographic value than visiting several destinations in quick succession. Compare the number of full wildlife-viewing days rather than focusing only on the total trip length. A seven-day itinerary with five full days for photography may offer more useful shooting time than a nine-day itinerary with several lengthy transfers.
Before paying a deposit, ask the operator to explain the daily schedule in practical terms. Find out approximately when you will leave the lodge, how long transfers are expected to take, how many game drives are planned, and whether the itinerary allows you to remain at a productive sighting when conditions permit.
Example of a Five-Day Photography Safari Schedule
A five-day photography safari in one main wildlife region can provide a useful balance between exploration and patience. The following example is a planning framework rather than a fixed itinerary. Actual timings depend on the park, accommodation, road conditions, and local rules.
On the first day, travel to the selected wildlife area and settle into accommodation near the park. If arrival time permits, take a short afternoon drive to familiarise yourself with the landscape, observe the available light, and discuss photographic priorities with your guide. Avoid trying to cover too much ground immediately.
On the second day, dedicate the morning to searching for priority species during the early hours. If you find an interesting subject, remain as long as the encounter stays productive and regulations permit. Use the afternoon for a second drive, focusing on different habitats or returning to an area where wildlife activity was promising.
On the third day, concentrate on behaviour and environmental images. Instead of searching for a long list of species, spend more time observing animals that offer opportunities for interaction, movement, or interesting compositions. You might photograph elephants near water, lions resting in open grassland, or birds feeding along a wetland edge.
On the fourth day, revisit a productive area or focus on subjects you have not yet photographed successfully. If the previous days produced strong animal portraits, look for wider environmental images. If bird photography has been limited, ask your guide to spend more time in a suitable habitat.
On the fifth day, take advantage of one final morning drive if your departure schedule allows. Use this session to revisit a favourite subject or capture photographs of the landscape in early light. After breakfast, transfer to your next destination or return home, depending on the itinerary.
This schedule limits unnecessary movement and gives you repeated opportunities to work in the same region. It also leaves room to adjust your plans as wildlife conditions change. For a specialised trip targeting gorillas, a particular bird species, or a migration event, the daily structure should be adapted to permit availability, habitat requirements, and the behaviour of the target animals.
Questions to Ask Before Booking Your Safari
Before confirming a photography-focused safari, ask the operator how much time the itinerary allocates to wildlife viewing rather than road transfers. Request a clear explanation of the number of full game-drive days and the expected travel time between accommodation and the park.
Confirm whether you will have a private vehicle, whether the guide has experience supporting wildlife photographers, and whether you can remain at a productive sighting when conditions and regulations allow. Ask about park operating hours, restrictions on off-road driving, and any rules that could affect the planned photography.
Discuss the subjects you want to photograph and the best regions for your travel dates. If you have a particular target, such as leopards, cheetahs, shoebills, or mountain gorillas, make sure the itinerary gives that subject appropriate attention without promising guaranteed sightings.
Finally, ask for the full itinerary before paying. Review the accommodation locations, driving distances, meals, park fees, permits, and included activities. A well-written itinerary should make it clear when you will be travelling, when you will be photographing wildlife, and where flexibility is possible.
The most successful photography safaris are built around realistic expectations. You need enough time to observe, prepare, wait, and respond when an animal does something unexpected. By choosing the right destination, limiting unnecessary transfers, working with a knowledgeable guide, and allowing enough time at each sighting, you can make better use of every day in the field.



No comment